Svelte Device Mockups - Flowbite
Use the device mockups component to add content and screenshot previews of your application inside phone and tablet frames coded with Tailwind CSS and Flowbite
The device mockup component can be used to feature a preview and screenshot of your application as if you would already use it on a mobile phone and it’s a great use case for hero and CTA sections.
This component is built using only the utility classes from Tailwind CSS and has built-in dark mode support so it’s easy to customize, it loads very fast and integrates perfectly with Tailwind CSS and Flowbite.
You can choose from multiple examples of mockups including phone, tablet, laptop, and even desktop devices with iOS or Android support.
Setup #
- Svelte
<script>
  import { DeviceMockup } from 'flowbite-svelte';
</script>
Default mockup #
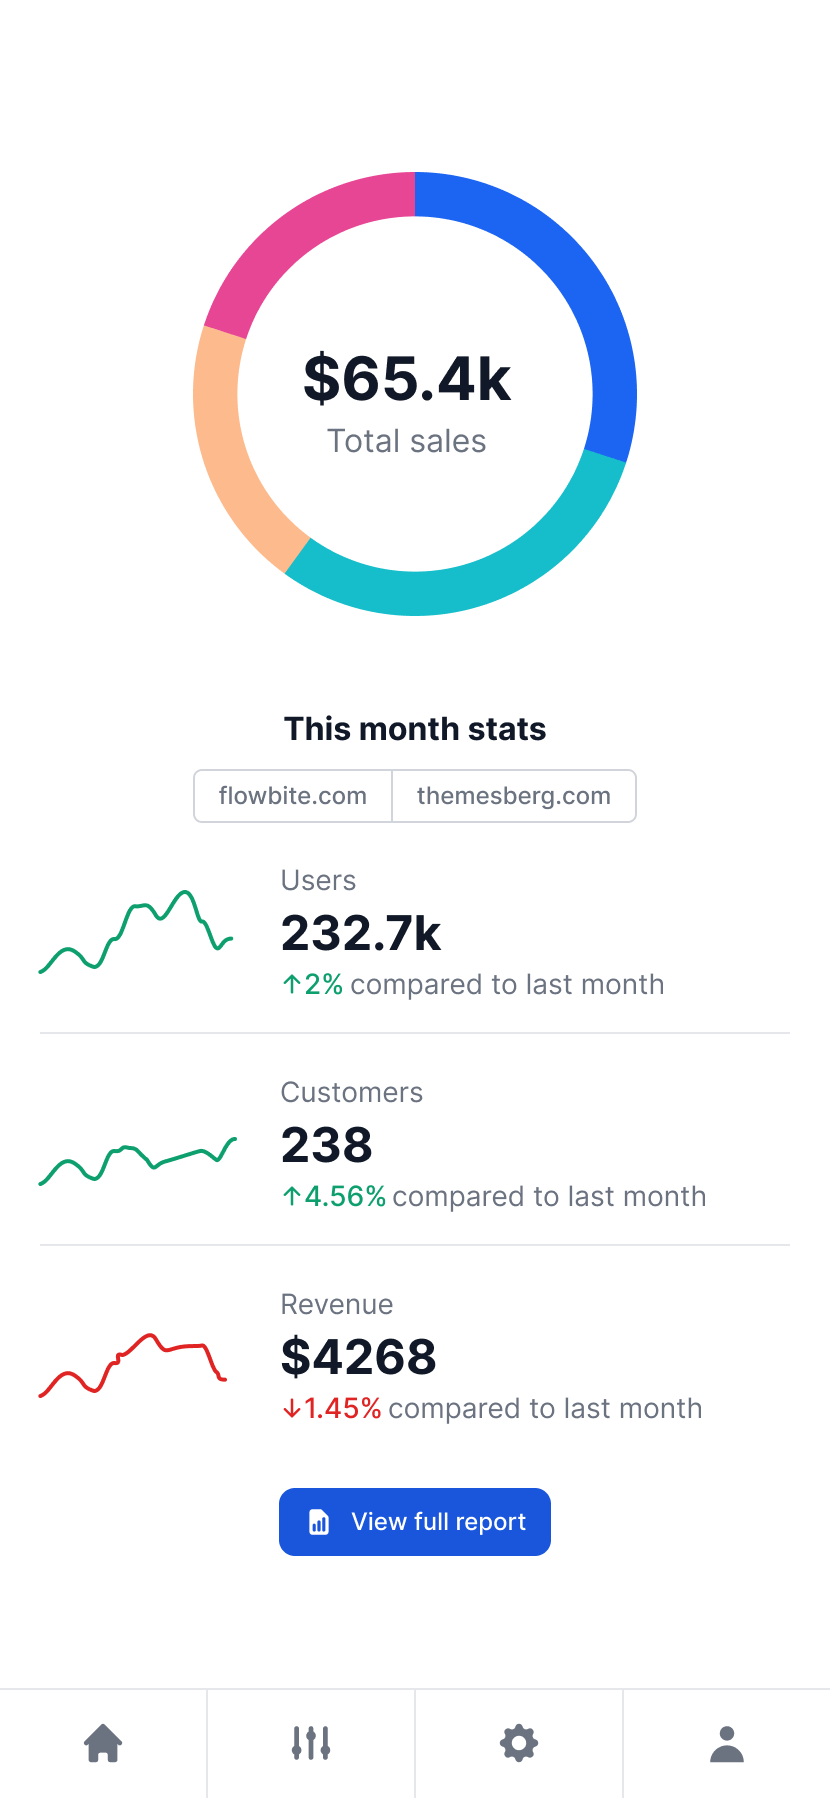
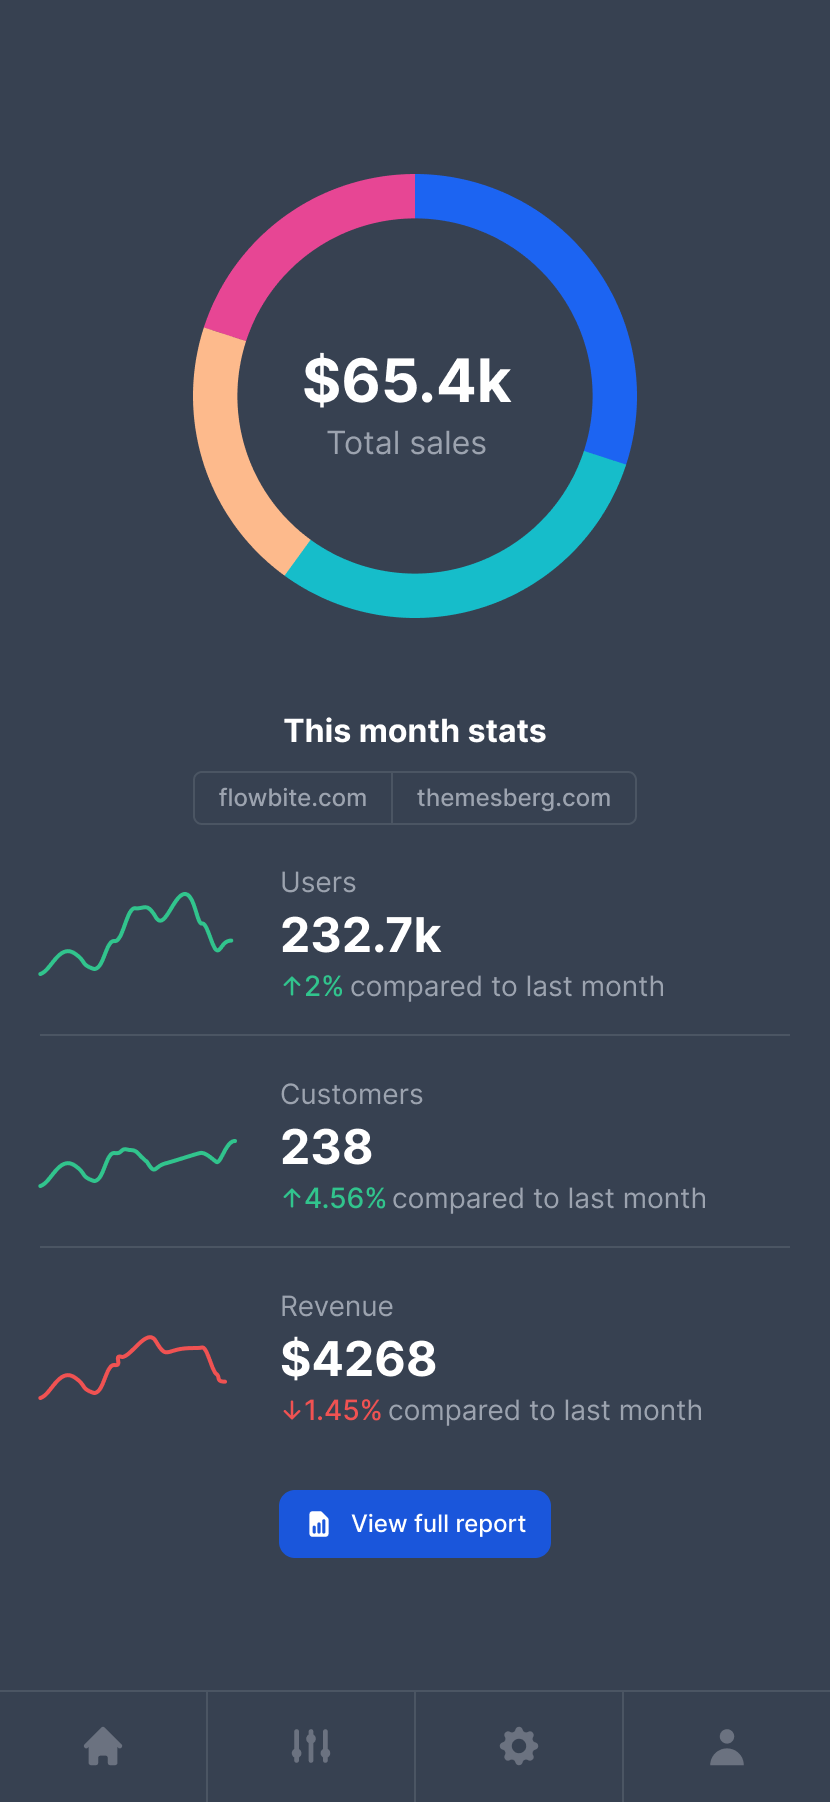
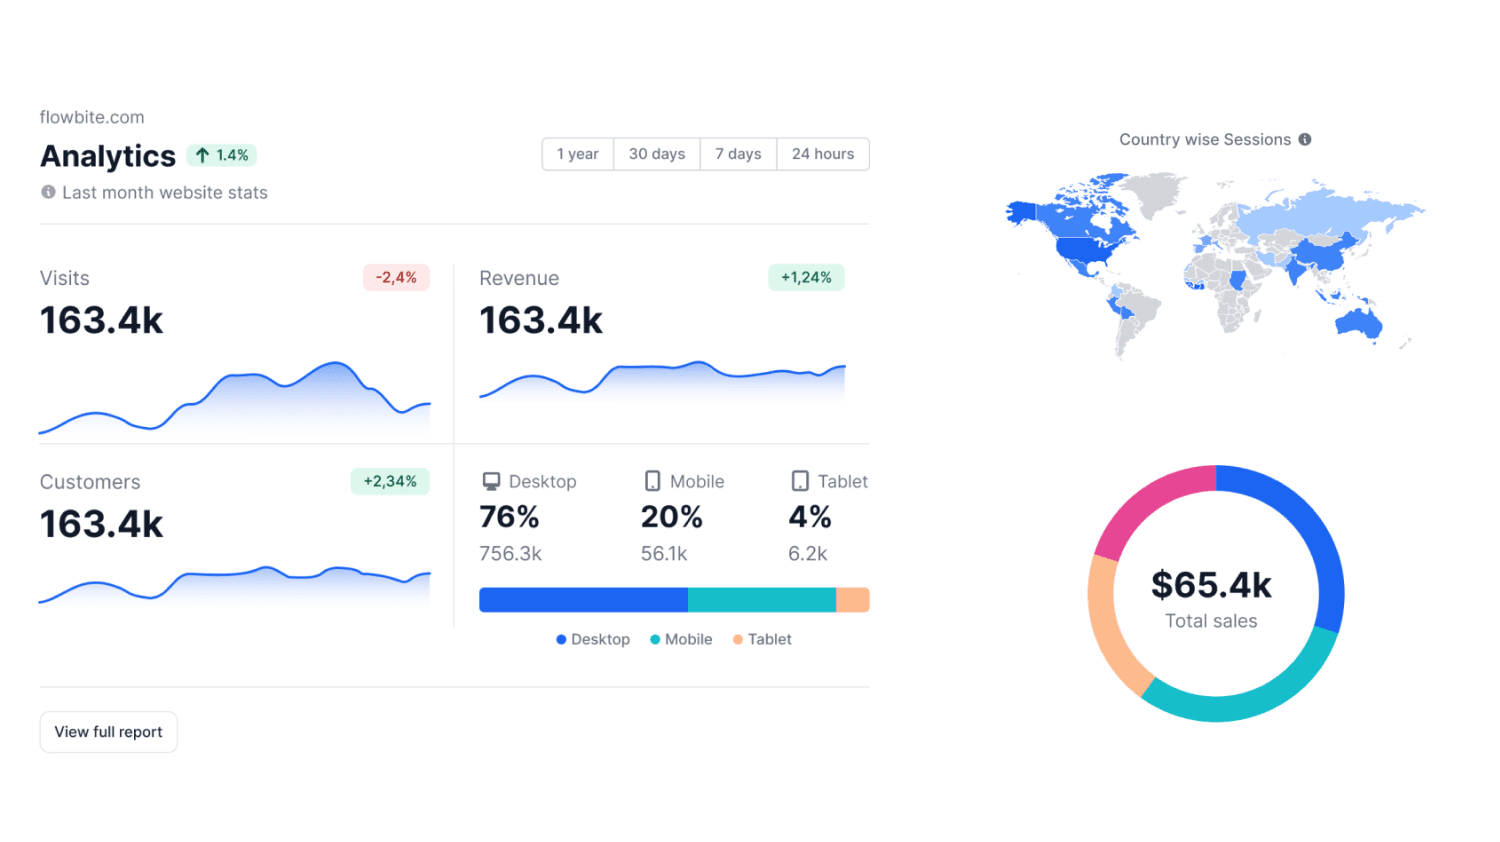
Use this example to show a standard phone mockup based on Tailwind CSS and add your app screenshot inside of it with dark mode support included.
- Svelte
<script>
  import { DeviceMockup } from 'flowbite-svelte';
</script>

<DeviceMockup>
  <img src="https://flowbite.s3.amazonaws.com/blocks/marketing-ui/hero/mockup-1-light.png" class="dark:hidden w-[272px] h-[572px]" alt="default example 1" />
  <img src="https://flowbite.s3.amazonaws.com/blocks/marketing-ui/hero/mockup-1-dark.png" class="hidden dark:block w-[272px] h-[572px]" alt="default example 2" />
</DeviceMockup>
iPhone 12 mockup (iOS) #
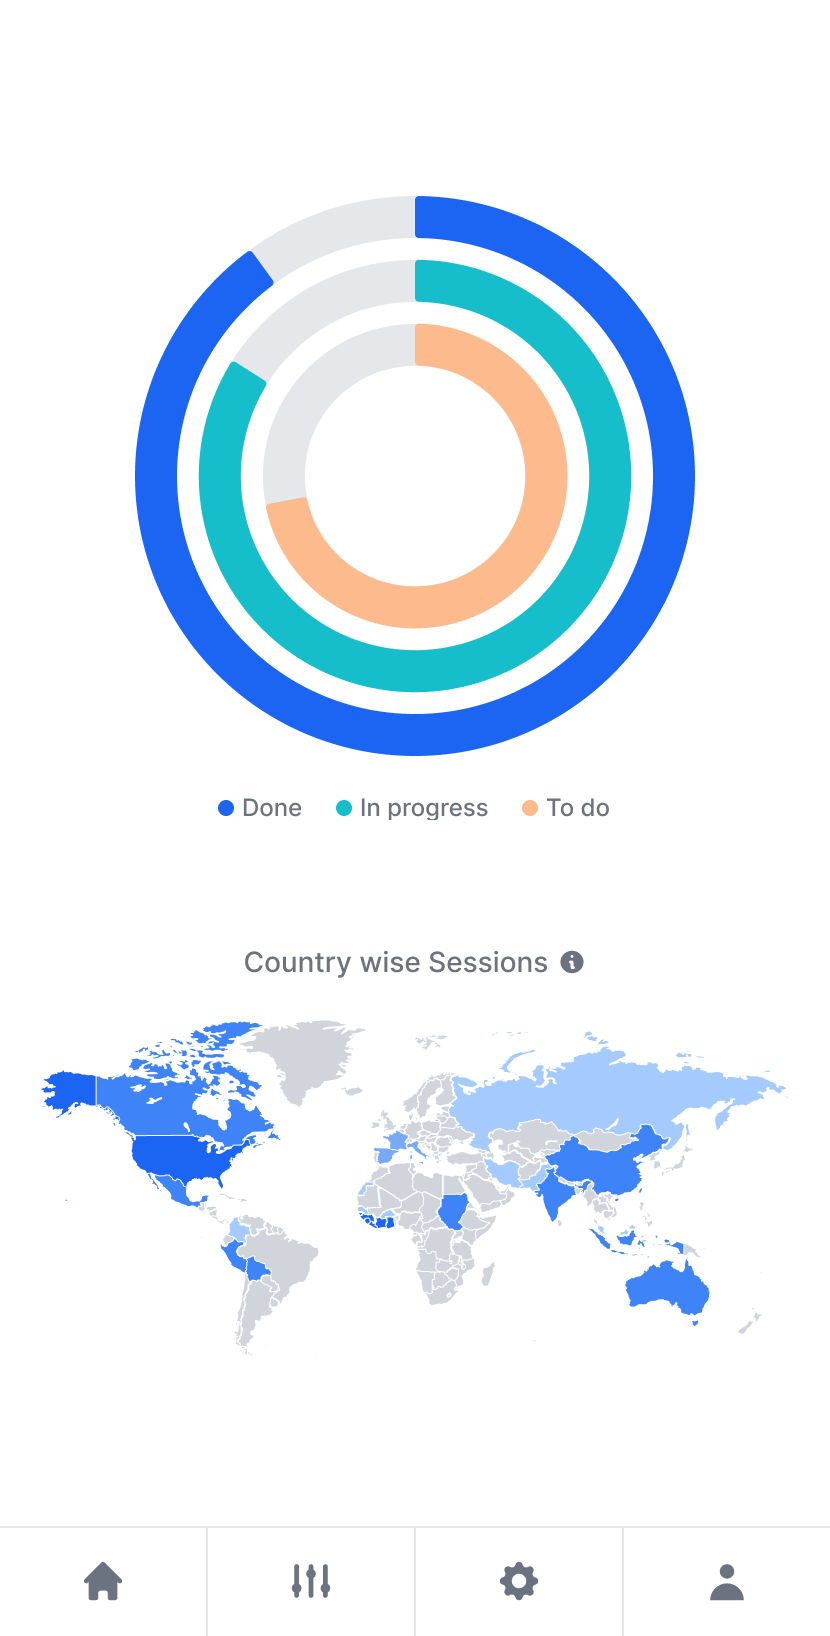
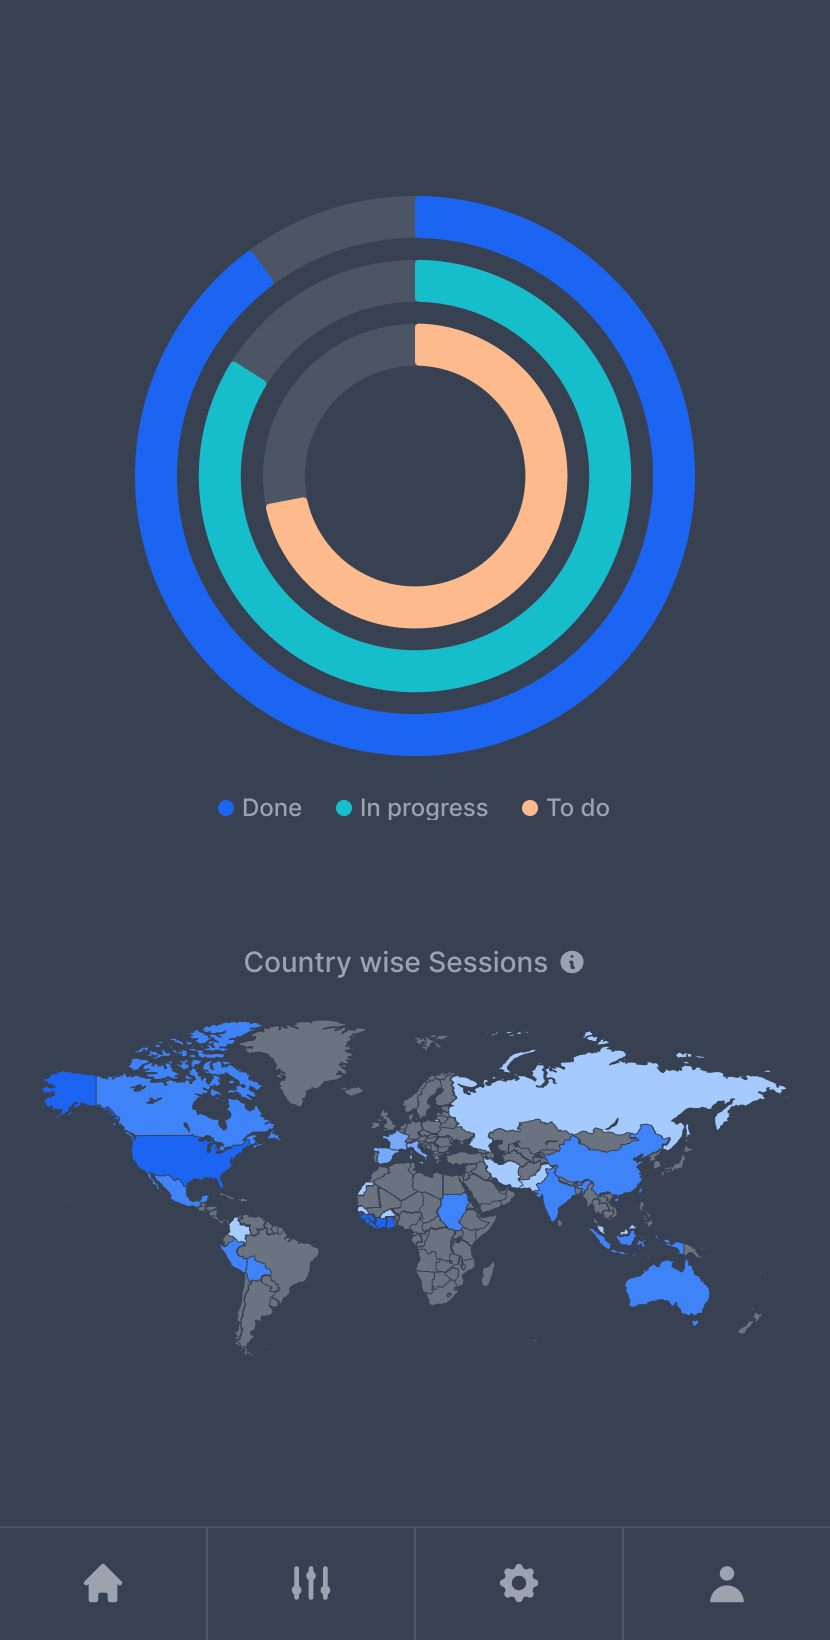
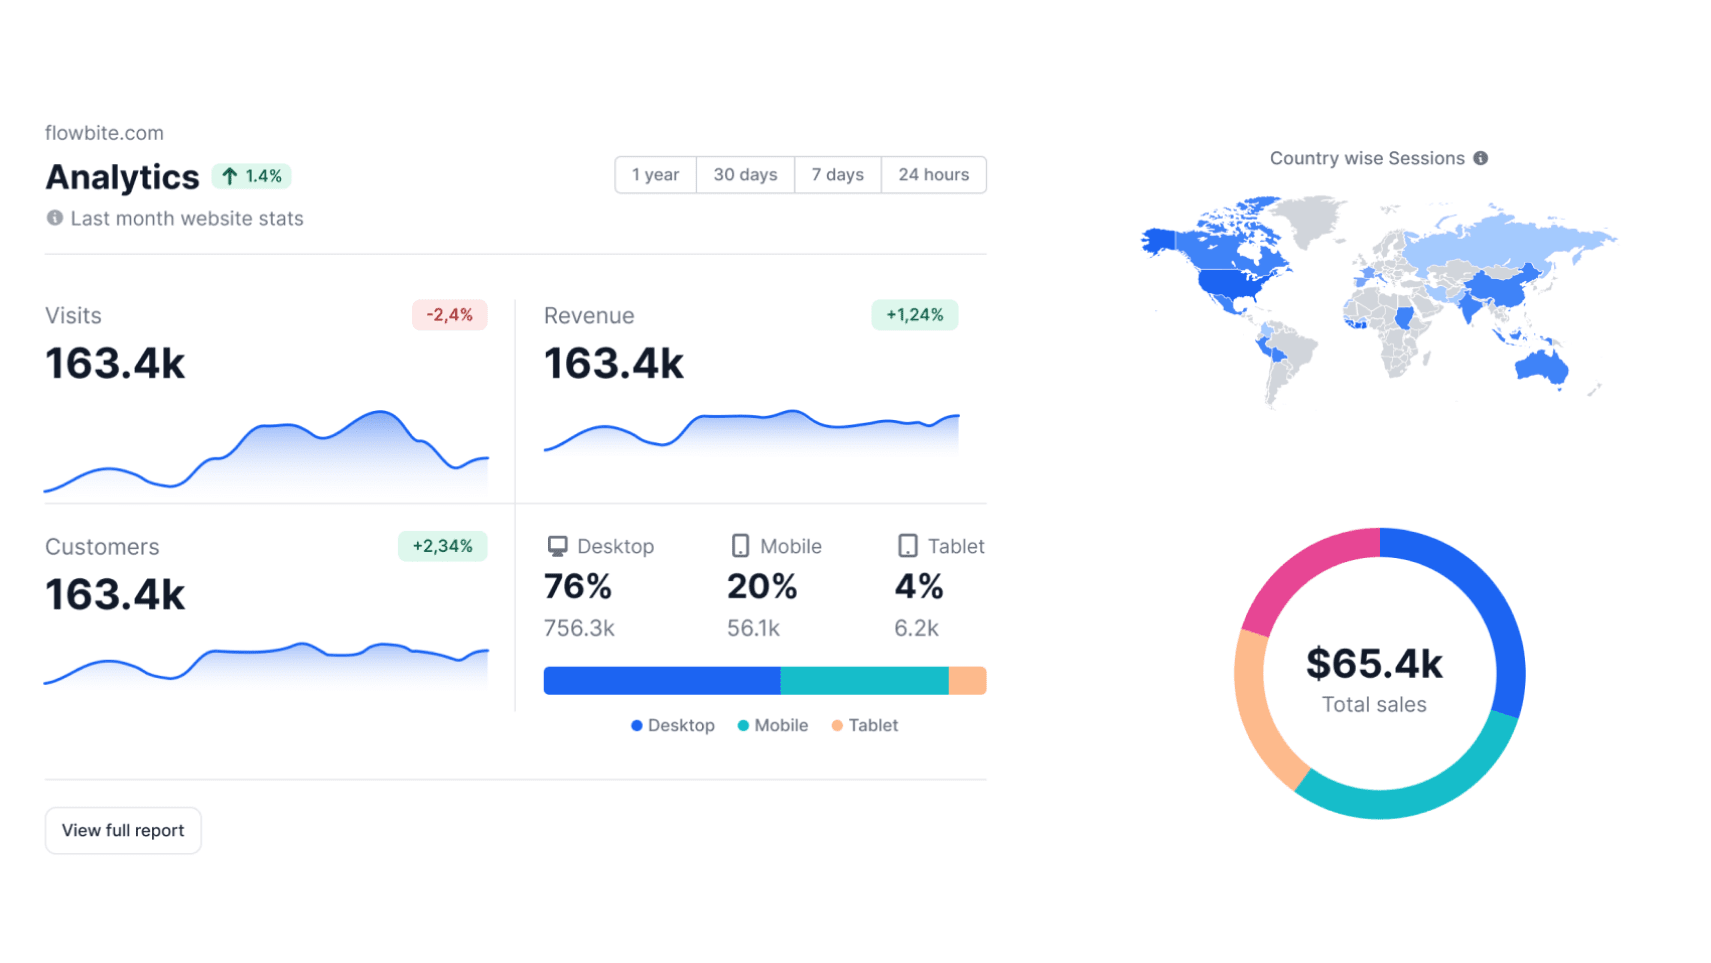
Use this example to clearly show that the preview of your application is being used on an iPhone with iOS.
- Svelte
<script>
  import { DeviceMockup } from 'flowbite-svelte';
</script>

<DeviceMockup device="ios">
  <img src="https://flowbite.s3.amazonaws.com/blocks/marketing-ui/hero/mockup-2-light.png" class="dark:hidden w-[272px] h-[572px]" alt="ios example 1" />
  <img src="https://flowbite.s3.amazonaws.com/blocks/marketing-ui/hero/mockup-2-dark.png" class="hidden dark:block w-[272px] h-[572px]" alt="ios example 2" />
</DeviceMockup>
Google Pixel mockup (Android) #
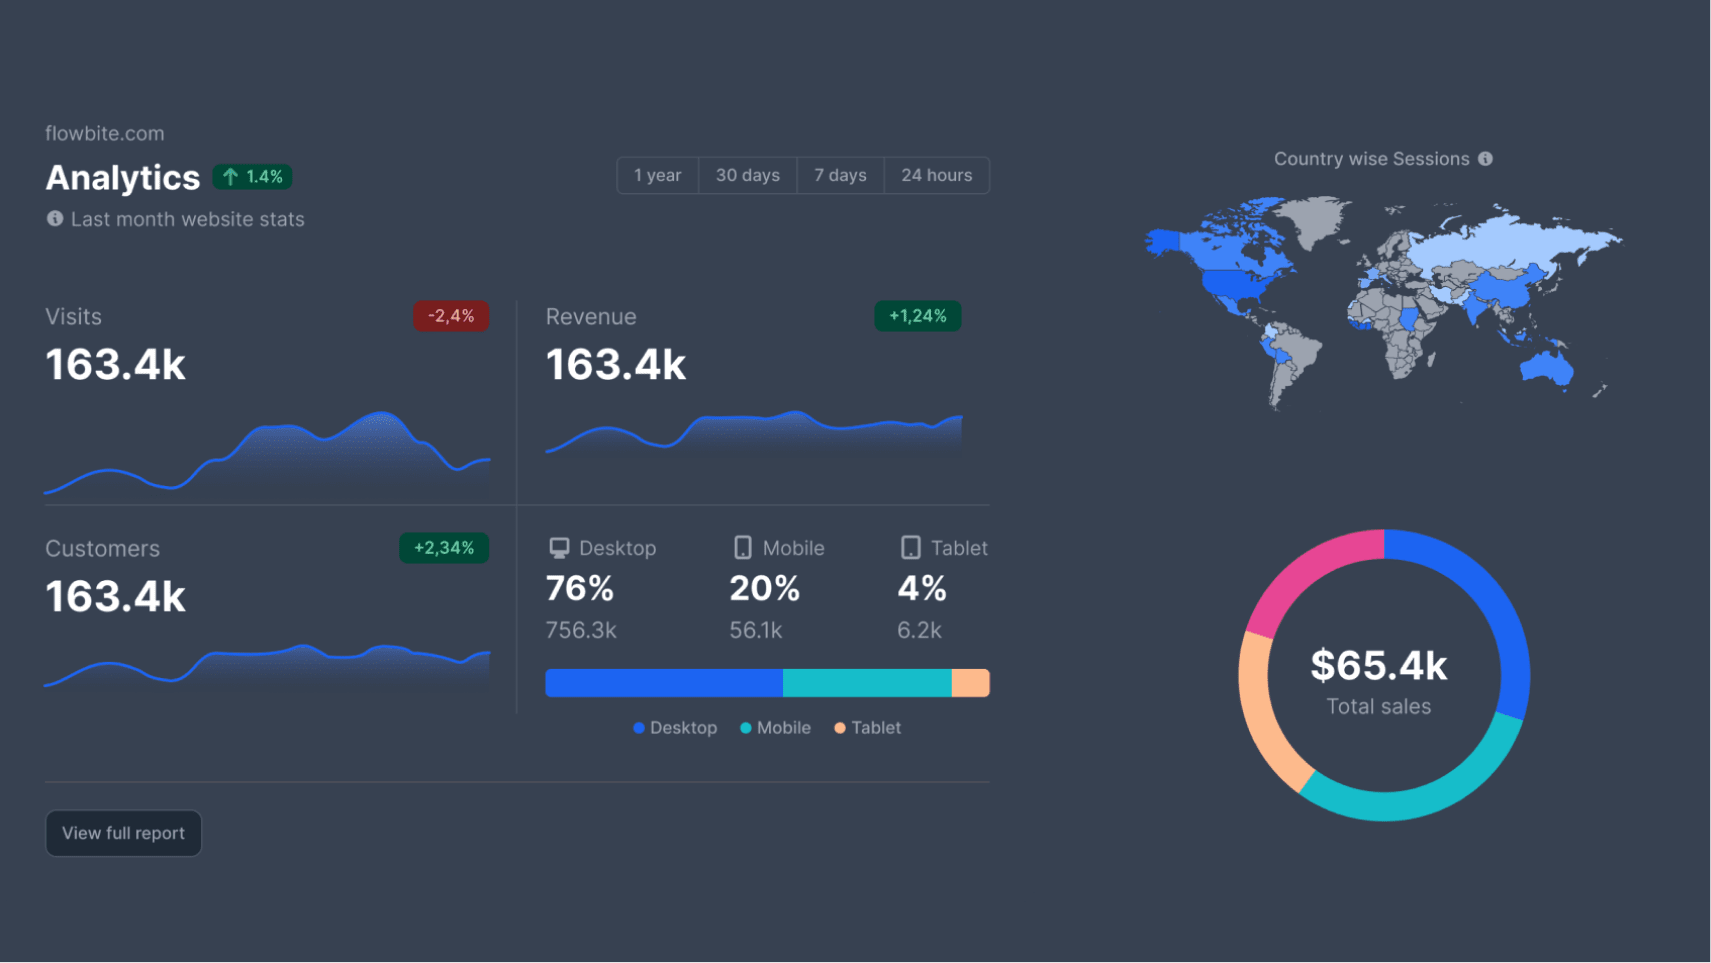
Use this alternative phone mockup example if you want to feature previews for android gadgets.
- Svelte
<script>
  import { DeviceMockup } from 'flowbite-svelte';
</script>

<DeviceMockup device="android">
  <img src="https://flowbite.s3.amazonaws.com/blocks/marketing-ui/hero/mockup-1-light.png" class="dark:hidden w-[272px] h-[572px]" alt="android example 1" />
  <img src="https://flowbite.s3.amazonaws.com/blocks/marketing-ui/hero/mockup-1-dark.png" class="hidden dark:block w-[272px] h-[572px]" alt="android example 2" />
</DeviceMockup>
Tablet mockup #
This component can be used to show an application preview inside of a responsive tablet mockup.


- Svelte
<script>
  import { DeviceMockup } from 'flowbite-svelte';
</script>

<DeviceMockup device="tablet">
  <img src="https://flowbite.s3.amazonaws.com/docs/device-mockups/tablet-mockup-image.png" class="dark:hidden h-[426px] md:h-[654px]" alt="tablet example 1" />
  <img src="https://flowbite.s3.amazonaws.com/docs/device-mockups/tablet-mockup-image-dark.png" class="hidden dark:block h-[426px] md:h-[654px]" alt="tablet example 2" />
</DeviceMockup>
Laptop mockup #
This example can be used to show a screenshot of your application inside a laptop mockup.

- Svelte
<script>
  import { DeviceMockup } from 'flowbite-svelte';
</script>

<DeviceMockup device="laptop">
  <img src="https://flowbite.s3.amazonaws.com/docs/device-mockups/laptop-screen.png" class="dark:hidden h-[156px] md:h-[278px] w-full rounded-xl" alt="laptop example 1" />
  <img src="https://flowbite.s3.amazonaws.com/docs/device-mockups/laptop-screen-dark.png" class="hidden dark:block h-[156px] md:h-[278px] w-full rounded-lg" alt="laptop example 2" />
</DeviceMockup>
Desktop mockup #
Use this example to show a preview of your applicaiton inside a desktop device such as an iMac.
- Svelte
<script>
  import { DeviceMockup } from 'flowbite-svelte';
</script>

<DeviceMockup device="desktop">
  <img src="https://flowbite.s3.amazonaws.com/docs/device-mockups/screen-image-imac.png" class="dark:hidden h-[140px] md:h-[262px] w-full rounded-xl" alt="desktop example 1" />
  <img src="https://flowbite.s3.amazonaws.com/docs/device-mockups/screen-image-imac-dark.png" class="hidden dark:block h-[140px] md:h-[262px] w-full rounded-xl" alt="desktop example 2" />
</DeviceMockup>
Smartwatch mockup #
This component can be used to showcase applications built for smartwatches.
- Svelte
<script>
  import { DeviceMockup } from 'flowbite-svelte';
</script>

<DeviceMockup device="smartwatch">
  <img src="https://flowbite.s3.amazonaws.com/docs/device-mockups/watch-screen-image.png" class="dark:hidden h-[193px] w-[188px" alt="smartwatch example 1" />
  <img src="https://flowbite.s3.amazonaws.com/docs/device-mockups/watch-screen-image-dark.png" class="hidden dark:block h-[193px] w-[188px]" alt="smartwatch example 2" />
</DeviceMockup>
Component data #
The component has the following props, type, and default values. See types page for type information.
DeviceMockup styling #
- Use the
classprop to overwrite the outer div class.
DefaultMockup styling #
- Use the
classDefaultDivprop to overwritedefaultDiv. - Use the
classDefaultSlotprop to overwritedefaultSlot. - Use the
classDefaultTopprop to overwritedefaultTop. - Use the
classDefaultLeftTopprop to overwritedefaultLeftTop. - Use the
classDefaultLeftBotprop to overwritedefaultLeftBot. - Use the
classDefaultRightprop to overwritedefaultRight.
Android styling #
- Use the
classAndroidDivprop to overwriteandroidDiv. - Use the
classAndroidSlotprop to overwriteandroidSlot. - Use the
classAndroidTopprop to overwriteandroidTop. - Use the
classAndroidLeftTopprop to overwriteandroidLeftTop. - Use the
classAndroidLeftMidprop to overwriteandroidLeftMid. - Use the
classAndroidLeftBotprop to overwriteandroidLeftBot. - Use the
classAndroidRightprop to overwriteandroidRight.
Desktop styling #
- Use the classDesktopInner prop to overwrite desktopInner.
- Use the classDesktopBot prop to overwrite desktopBot.
- Use the classDesktopBotUnder prop to overwrite desktopBotUnder.
- Use the classDestopDiv prop to overwrite destopDiv.
- Use the classDesktopSlot prop to overwrite desktopSlot.
Ios styling #
- Use the
classIosDivprop to overwriteiosDiv. - Use the
classIosSlotprop to overwriteiosSlot. - Use the
classIosTopprop to overwriteiosTop. - Use the
classIosLeftTopprop to overwriteiosLeftTop. - Use the
classIosLeftBotprop to overwriteiosLeftBot. - Use the
classIosRightprop to overwriteiosRight.
Laptop styling #
- Use the
classAndroidDivprop to overwriteandroidDiv. - Use the
classAndroidDivprop to overwriteandroidDiv. - Use the
classAndroidDivprop to overwriteandroidDiv. - Use the
classAndroidDivprop to overwriteandroidDiv. - Use the
classAndroidDivprop to overwriteandroidDiv. - Use the
classAndroidDivprop to overwriteandroidDiv.
Smartwatch styling #
- Use the
classAndroidDivprop to overwriteandroidDiv. - Use the
classAndroidDivprop to overwriteandroidDiv. - Use the
classAndroidDivprop to overwriteandroidDiv. - Use the
classAndroidDivprop to overwriteandroidDiv. - Use the
classAndroidDivprop to overwriteandroidDiv. - Use the
classAndroidDivprop to overwriteandroidDiv.
Tablet styling #
- Use the
classAndroidDivprop to overwriteandroidDiv. - Use the
classAndroidDivprop to overwriteandroidDiv. - Use the
classAndroidDivprop to overwriteandroidDiv. - Use the
classAndroidDivprop to overwriteandroidDiv. - Use the
classAndroidDivprop to overwriteandroidDiv. - Use the
classAndroidDivprop to overwriteandroidDiv.